Once I had collected the images I put them all into folders, before moving on to working After Effects.
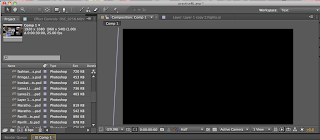
In After Effects, I created a new composition and changed the settings so that the preset was 'HDTV 1080 25', which changed the width to 1920px and the height to 1080px.
I then imported all of the images into the project tab and was then ready to start putting the images into the timeline.
I put each image into the time and staggered the time in which they start. Using the 'p' for position, 't' for opacity and 'r' for rotation, I put in keyframes on each image. I moved the slider a long a couple of seconds and put in another set of keyframes for each image. At the first opacity keyframe on each image, I put the figure as 0 and the end keyframe as 100. The position and rotation figures varied depending on where they were situated on the screen.
As well as putting in the position, opacity and rotation, I also went on to include a lens blur, on each one I only adjusted the 'iris radius' setting which started on 50 for the first keyframe and ended on 0.
When it came to rendering I changed the video codec to H.264 and the quality to 80. These are a couple of stills from the .mov.


No comments:
Post a Comment